Photographing The Lamps
Last Edited: 15 March 2025While visiting a website might be quick and easy, creating one is often not. That's especially true if it is genuine original content and has lots of images and information, and even more so when web design is not your primary field of expertise. But a rough system has been worked out and now it's just a repetitive task of photographing the lamps, processing the images, creating albums, uploading the files, and then recording all the relevant information for each lamp. You might be wondering what I'm talking about since the public album is just a single photo of each lamp - however, the private album for my own use has lots more than just one photo. Read on and it'll all become clear.
 First
is
the
photography.
I
borrowed
a
portable
photo
studio
from
a
friend
and
got
out
my
digital
camera.
I
experimented
with
various
image
sizes,
background
colours,
and
then
album
configurations
to
determine
what
works
best
and
is
easiest
for
me
to
do.
For
the
public
album
I
decided
to
take
just
one
picture
from
the
front
for
each
lamp
-
that's
more
than
enough
to
be
able
to
identify
the
lamp.
For
my
private
album
however
I
wanted
360
degree
images
so
I
can
see
it
from
all
angles,
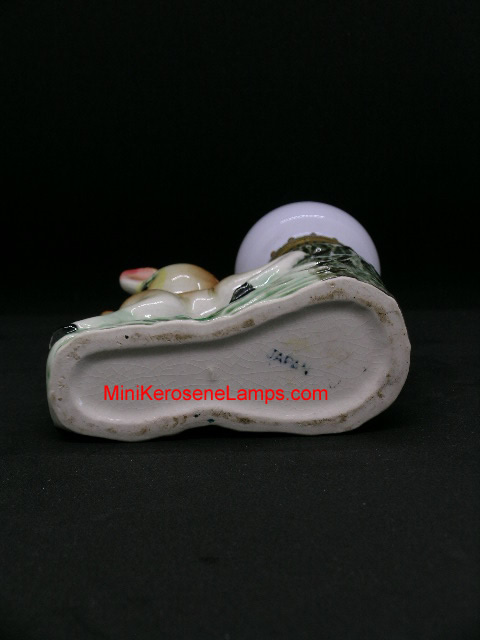
plus
another
image
of
the
bottom
(any
stickers
or
marks),
plus
another
of
the
burner.
This
is
especially
important
for
me
since
I
am
unable
to
display
the
entire
collection,
and
this
is
perhaps
the
only
opportunity
in
my
lifetime
to
take
them
out
and
see
them
again
so
I
need
to
do
it
right
and
at
least
have
a
detailed
digital
catalogue
of
them.
First
is
the
photography.
I
borrowed
a
portable
photo
studio
from
a
friend
and
got
out
my
digital
camera.
I
experimented
with
various
image
sizes,
background
colours,
and
then
album
configurations
to
determine
what
works
best
and
is
easiest
for
me
to
do.
For
the
public
album
I
decided
to
take
just
one
picture
from
the
front
for
each
lamp
-
that's
more
than
enough
to
be
able
to
identify
the
lamp.
For
my
private
album
however
I
wanted
360
degree
images
so
I
can
see
it
from
all
angles,
plus
another
image
of
the
bottom
(any
stickers
or
marks),
plus
another
of
the
burner.
This
is
especially
important
for
me
since
I
am
unable
to
display
the
entire
collection,
and
this
is
perhaps
the
only
opportunity
in
my
lifetime
to
take
them
out
and
see
them
again
so
I
need
to
do
it
right
and
at
least
have
a
detailed
digital
catalogue
of
them.
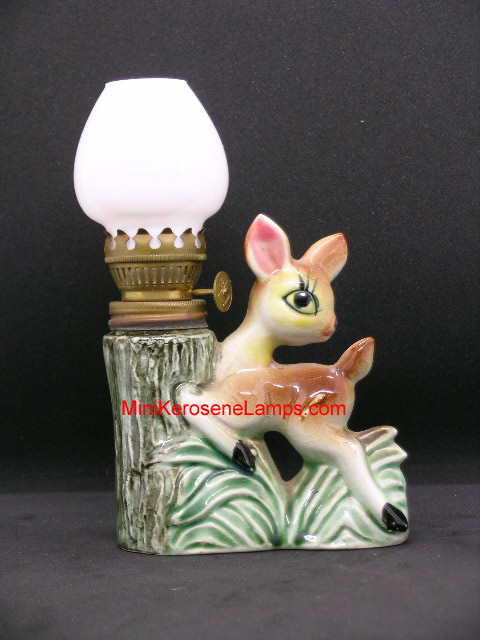
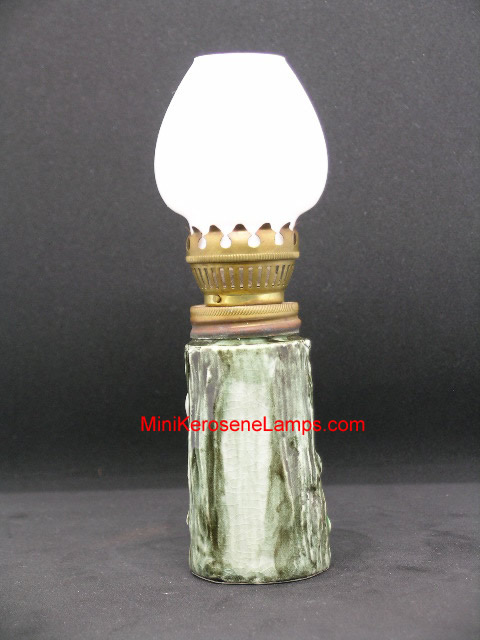
Here
is
a
sample
of
the
photographs
taken
for
most
lamps.
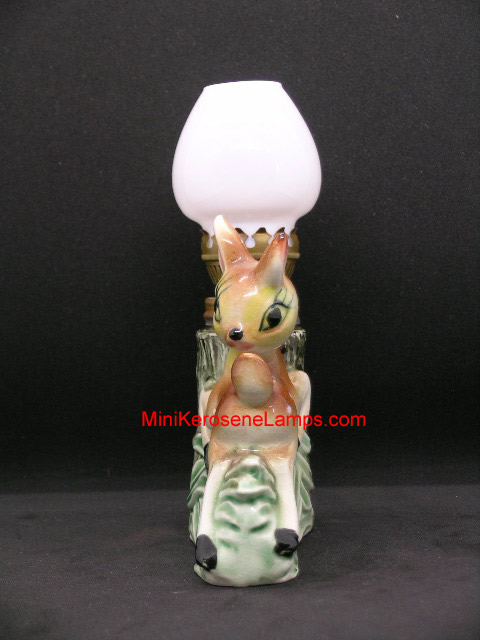
Photography
starts
with
a
frontal
image,
then
the
lamp
is
rotated
90
degrees
clockwise
as
seen
from
the
top
until
four
photos
are
taken
around
each
lamp.
Simple
lamps
that
are
symmetrical
and/or
have
little
or
no
pattern
or
features
at
the
sides
or
back
can
often
just
have
one
photo
from
the
front,
or
maybe
just
two
depending
on
the
lamp.
Then
add
the
bottom
and
burner
handle
photos.
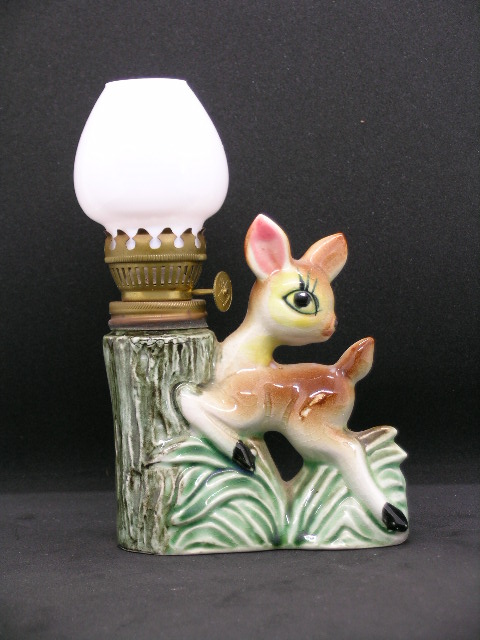
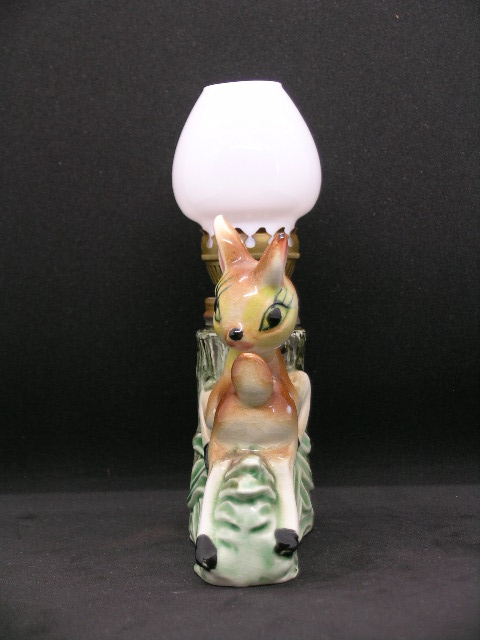

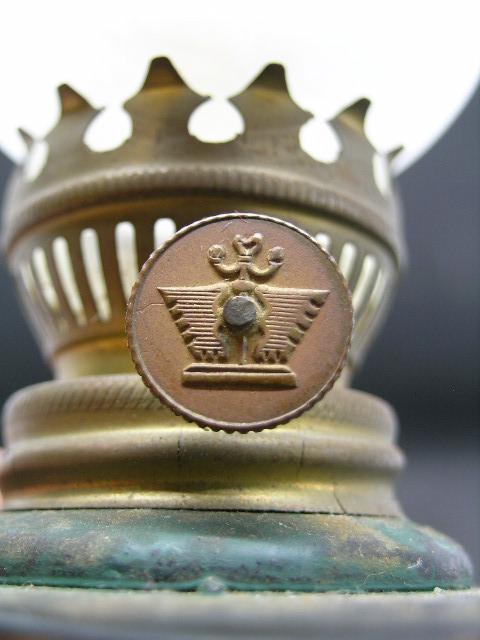
"Raw"
lamp
images.
The
next
step
is
to
process
the
images.
First
is
to
rename
them.
The
convention
I
am
using
is
LampXXXX_YY,
where
XXXX
is
the
lamp
number
starting
from
0001
and
incrementing
(there
are
at
least
1000
unique
lamps
so
a
four
digit
number
was
necessary
-
I
highly
doubt
it
will
reach
5
figures)
and
YY
is
the
image
number
for
that
particular
lamp.
Second
is
to
remove
all
properties
and
personal
information
from
each
file.
From
that
a
"raw"
file
is
ready
for
use.
But
with
AI
bots
and
devious
people
ripping
off
content
from
sites
there
is
no
way
I
will
create
thousands
of
images
and
have
all
that
work
stolen
from
me,
so
I
manually
place
a
"watermark"
on
all
images
-
the
"MiniKeroseneLamps.com"
(up
until
Mar
2025)
or
"MiniOilLamps.com"
(after
Mar
2025)
red
text
you
have
probably
seen
already.
Now,
I
can
hear
the
more
computer
or
internet
savvy
of
you
readers
saying
"Hey,
there
is
already
a
feature
in
most
website
software
to
put
watermarks
on
images
automatically,
so
why
do
you
need
to
go
to
all
that
trouble
to
do
it
manually?"
Well,
you
are
correct,
but
there
is
a
major
problem
with
that.
You
need
to
upload
the
un-watermarked
image
to
the
web
server
and
then
the
server
superimposes
that
watermark
when
someone
visits
the
pages
and
downloads
the
image.
In
other
words,
the
un-watermarked
image
is
stored
on
the
server
and
can
be
ripped
off
it
and
hence
my
hard
work
stolen.
No
amount
of
obfuscation
or
password
protection
can
prevent
a
determined
attack.
Well...
that
ain't
gonna
happen.
Or
I
should
say,
if
they
do
it
then
it
will
not
be
worth
their
time
and
effort.
Nothing
will
be
put
out
there
anywhere
unless
permanently
watermarked
already.
So
it's
a
time
consuming
and
mundane
task
but
it
needs
to
be
done.
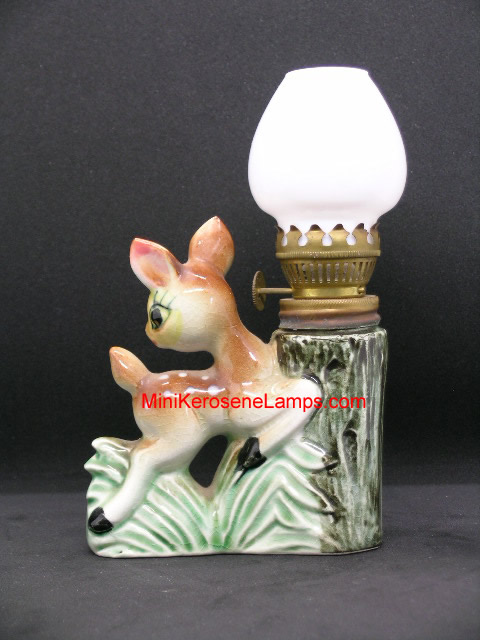

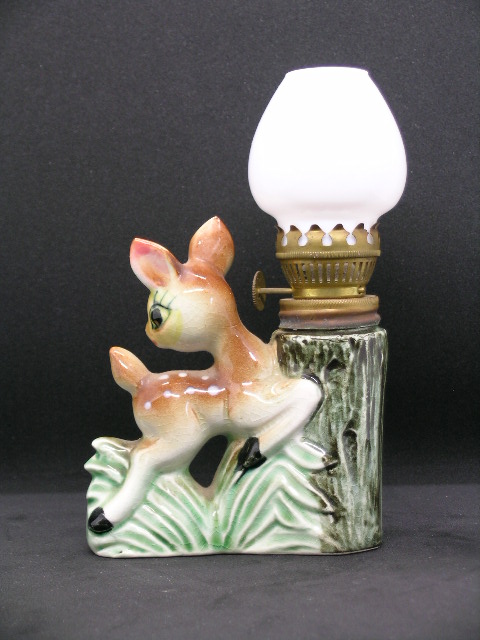
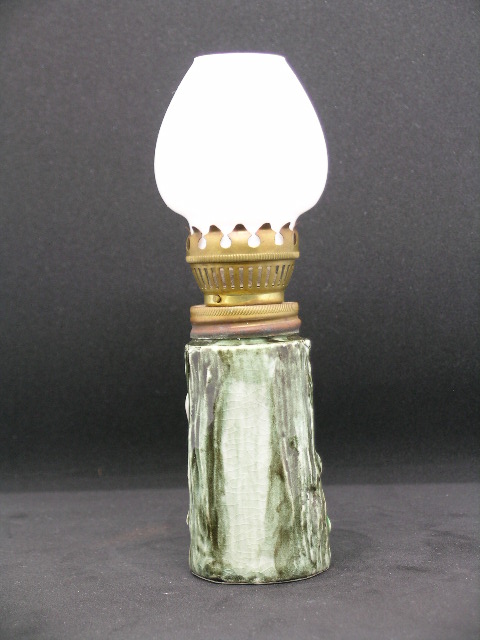
"Watermarked"
lamp
images.
Once the images are ready they need to be uploaded to the site. For the public album it's as simple as uploading the first image of every lamp (that is, LampXXXX_01) to the public album and changing a couple of minor settings. But first I need to resize those images to a smaller size of 200x150 pixels, to save bandwidth, as detailed images are not necessary for general public viewing. The private album is where the real work happens. Each lamp needs its own sub-album to group the images for just that lamp, otherwise there will be ten thousand or more images in the one album and thus impossible to view and organize efficiently. Then the images are uploaded into their respective albums, and a whole array of data is recorded for each lamp. This includes origin, shade/flue/burner/font/foot materials (ie: glass, ceramic, plated steel, etc), height, marks, and information about its condition. I also set/create tags for each lamp with any relevant feature or keywords so that I can search the whole collection easily. All of this too is very meticulous and time consuming.
So this is the process that is underway for over 1000 mini oil lamps. At the time of writing this article 19 lamps have been documented so far. If you have read the first article How it all started then these are the lamps that were temporarily put into my kitchen cabinet and not yet packed away. The timber crates and other bags and boxes in storage have not been touched yet. I will need to work out a new storage system for the lamps before proceeding any further - this is to streamline the process of opening each crate/box, photographing and documenting, repacking, avoiding damaging any of them, as well as being able to quickly and easily locate any individual lamp if I ever need to unpack one of them again. A temporary distraction from cataloguing the lamps will need to be made to set all that up.